Pencil sharpener sketch
Experimentation of industrial sketching techniques.
Techniques
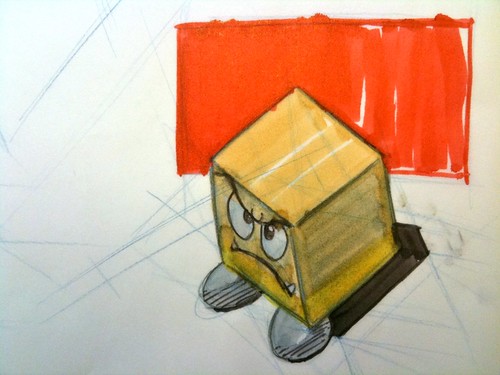
1 An early experiment mixed Prismacolor markers on Vellum paper.
Before rendering a product using industrial design methods, I experimented with a variety of sketching techniques among various mediums. Sketching simple boxes, I practiced applying three-tones (highlight, mid-tone and shade) and shadows using either Prismacolor markers and Faber-Castell brush pens on either translucent Vellum or laser printer paper.1 Surprisingly, Vellum surpassed printer paper in most regards. Vellum is smoother and less porous, enabling cleaner strokes; and less absorbent, causing less saturation, bleeding and exaggerated colors. Though Prismacolor markers tend to blend well for smooth gradients, Faber-Castell brushes dry faster, causing less potential for smearing during quick coloring.
Process
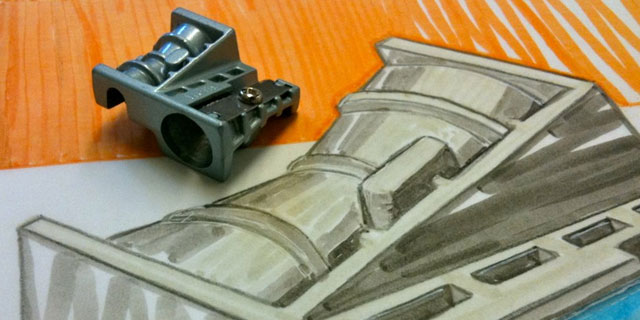
As a continuation and escalated challenge, I sought to draw a product with rectangular features and increased details. Due primarily to immediacy and portability than any meaningful significance, I isometrically posed a dual pencil sharpener for rendering. Sketching on Vellum, an indigo blue Prismacolor Verithin pencil outlined the box of the object and guidelines systematically positioned within the box maintained proportions of the object's features.2
Using the pencil sketch as an underlay guide, a second film of Vellum laid over it for the final render. Though not maintaining the original guides on the same layer produces a cleaner rendering and enables repositioning within the paper, it also disregards a secondary form of aesthetic expression endued by the mixed mediums. (As this rendering was an initial attempt at separating layers for experimental and demonstration purposes, it wasn't a significant factor.) Sequentially applying Faber-Castell warm grays I, III and IV along the three sides of sharpener slowly built the illustration from the lower sketch.3
A black Verithin pencil contrasted edges and a white gel pen highlighted subtle details. Coloring the metallic blade blue emphasized the feature against the monotoned object, while a complementary orange separated the background from the foreground.4
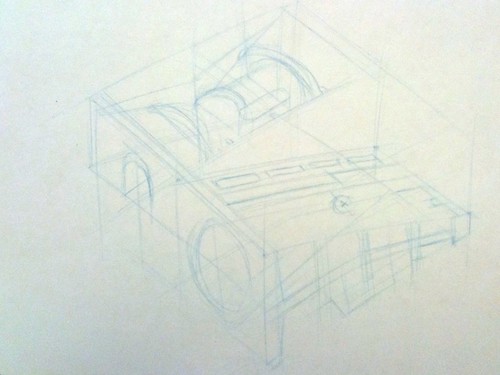
2 An indigo blue Verithin pencil outlined the pencil sharpener as an underlay sketch.

3 The first two applications of warm grayed applied to the highlight and mid-tone surfaces.
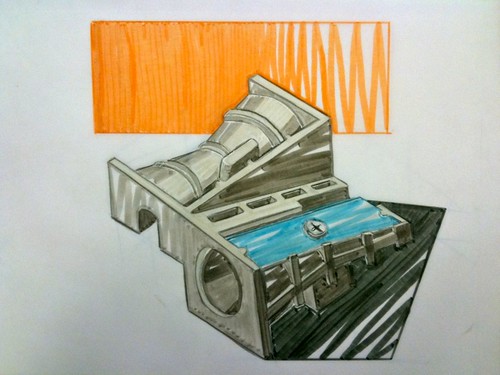
4 The final render after contrasting edges and highlighting details.
Reflection
Though extraordinarily satisfied by the craftsmanship of the rendering, the pencil sharpener was very labor intensive, costing approximately 3-hours of work across multiple sessions. While the object was proportionally accurate, the perspective is subtly disconcerting due to not establishing horizon lines and vanishing points. Additional practice is needed for projecting circular shapes along skewed surfaces. Future techniques to explore include practicing marker application to minimize ink pooling, smooth gradients and selectively introduce whitespace; and casting shadows to appropriately match natural lighting conditions along non-rectangular objects.